To create an email account in cPanel follow these steps


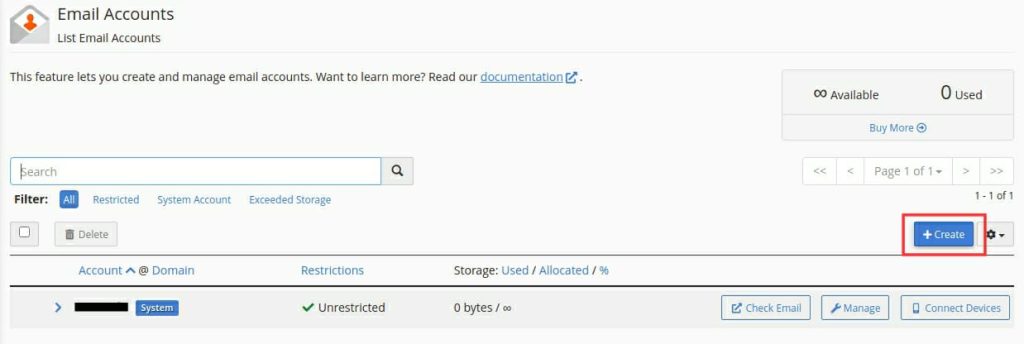
Step 1: Go to Email Accounts under Email section

The Email Accounts interface will provide functions such as creating, managing, and deleting an email account

Step 2:  Email Accounts will also display the existing email accounts, To create a new email account click the +create button


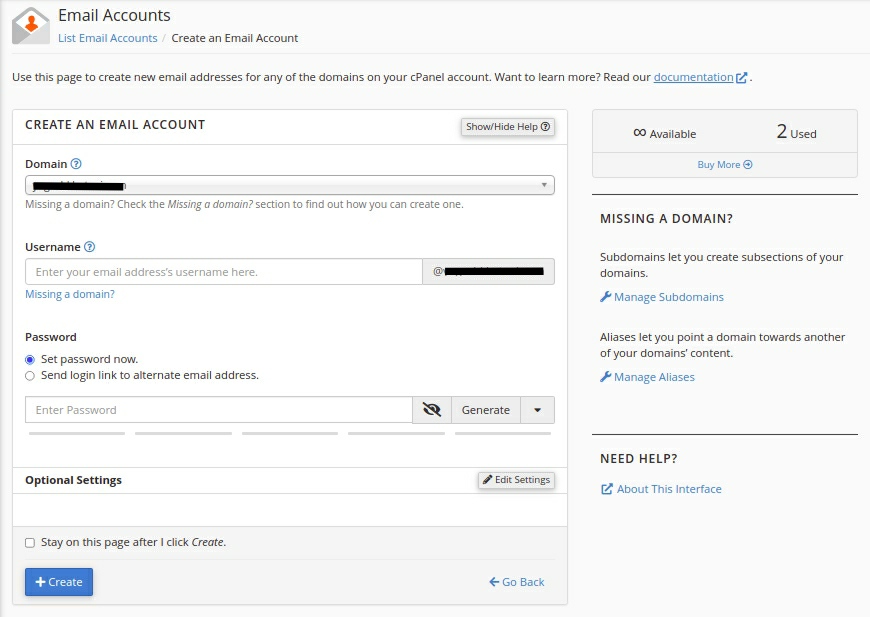
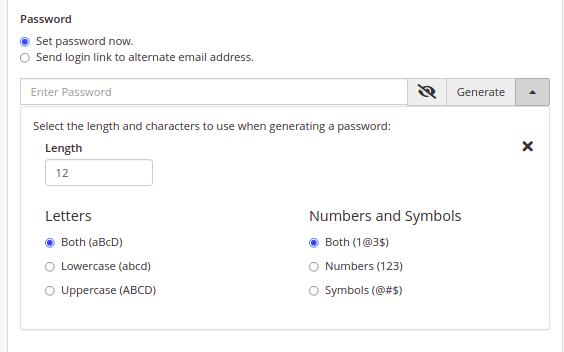
Step 3:  You have to enter the required details in order to create a new email account

  1. If you have more than one domain under your cPanel account, then you have to choose on which domain you want to create a new email account from the Domain dropdown menu
  2. Enter your email’s user name in the username text box
    • You cannot change its address or rename an email account after you create it.
  3. In the password section either you can enter your own secure password or else you have the option to generate one
    • Click the more icon to set the complexity of the auto generated password.
  4. If you select Send log in link to an alternate email address instead of Password you can enter an email address. The system will send a link to create a password to this address.
  5. Click create button to create the account and you will be directed to Email Account Interface if you didn’t check the Select the Stay on this page after I click Create checkbox.

Optional Settings

  1. In the Storage Space section either you can set disk storage size to limit your account’s email quota size else if you do not want to set a limit select Unlimited.
  2. Select one of the following settings for Automatically Create Folders for Plus Addressing:
    • Automatically Create Folders
      • The system creates a new folder when you receive an email with plus addressing. The server moves a message that uses plus addressing to a designated folder if one already exists. For example the system will place a message to 
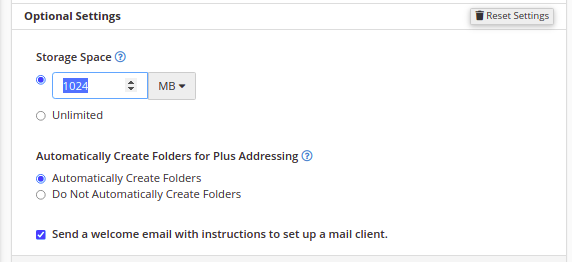
user+plusaddress@example.com in the plusaddress folder
    • Do Not Automatically Create Folders
      • When you receive an email using plus addressing, the system does not create a new folder. Instead, it delivers the message to the INBOX folder.
  3. If you click the Send welcome email with instructions to set up a mail client checkbox, you will send the user instructions via email. The user can access this message via Webmail.