Autoresponders can be used to send scheduled automated emails based on specific parameters that you set. It is a script triggered by user actions either on site or when a user sends an email directly to the recipient with an autoresponder in place.
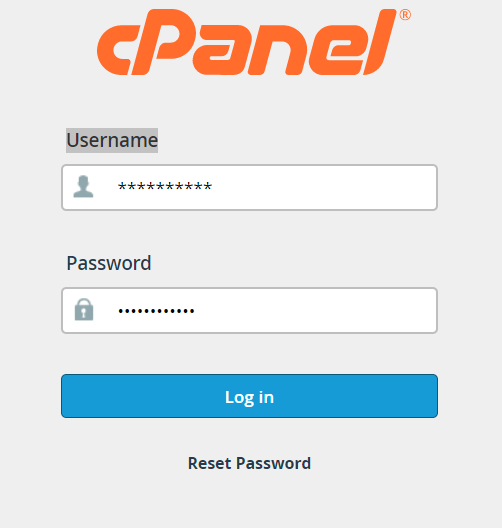
Step 1: Login to your cPanel
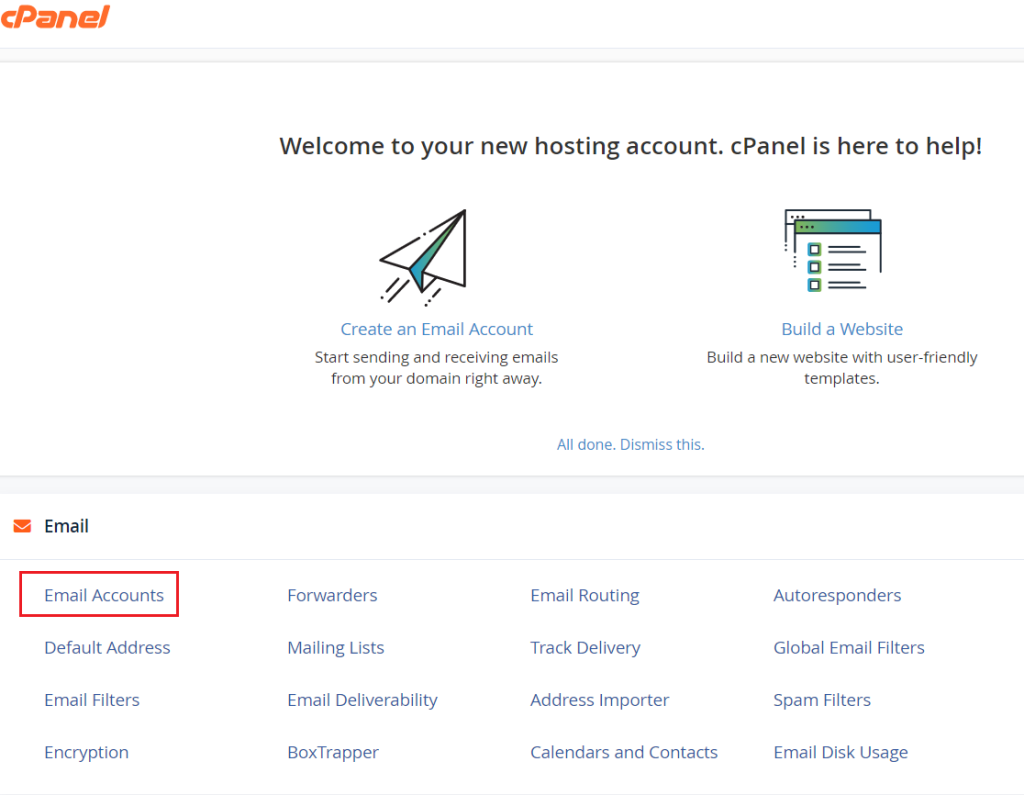
Step 2: Navigate to email section and click on Email Accounts, your email accounts will be listed here.
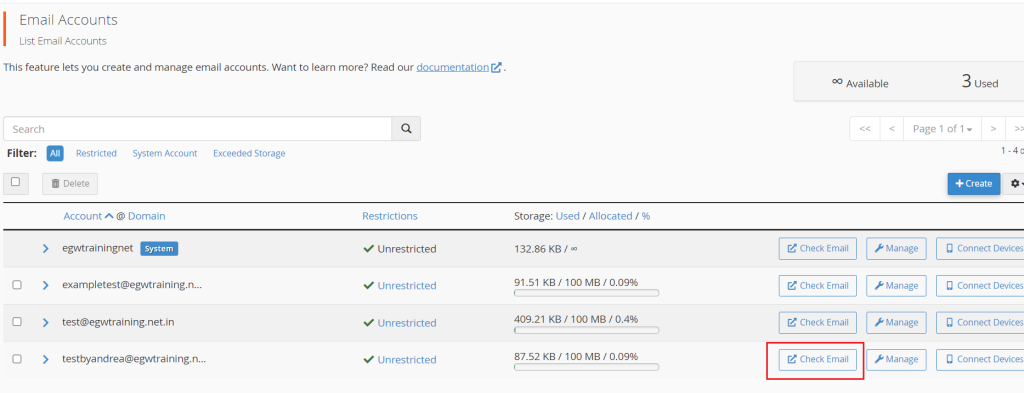
Step 3: Now click on Check Email next to the appropriate email.
Step 4: Scroll down to manage your inbox and select Autoresponders.

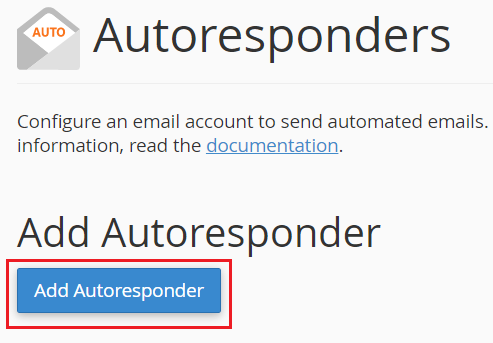
Step 5: Click on the tab Add Autoresponder.
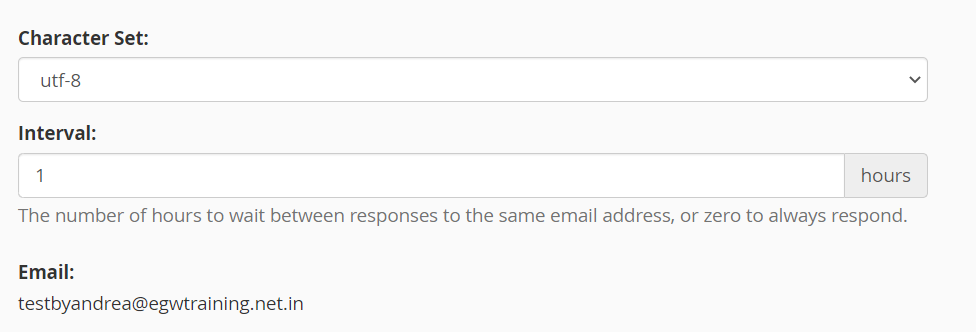
Step 6: From the character set dropdown, select utf-8 so that your message would be displayed correctly. In the interval field, mention the time in hours that the email should be sent after it gets received and the email address that you need to enable autoresponder on will be seen here.
Note :
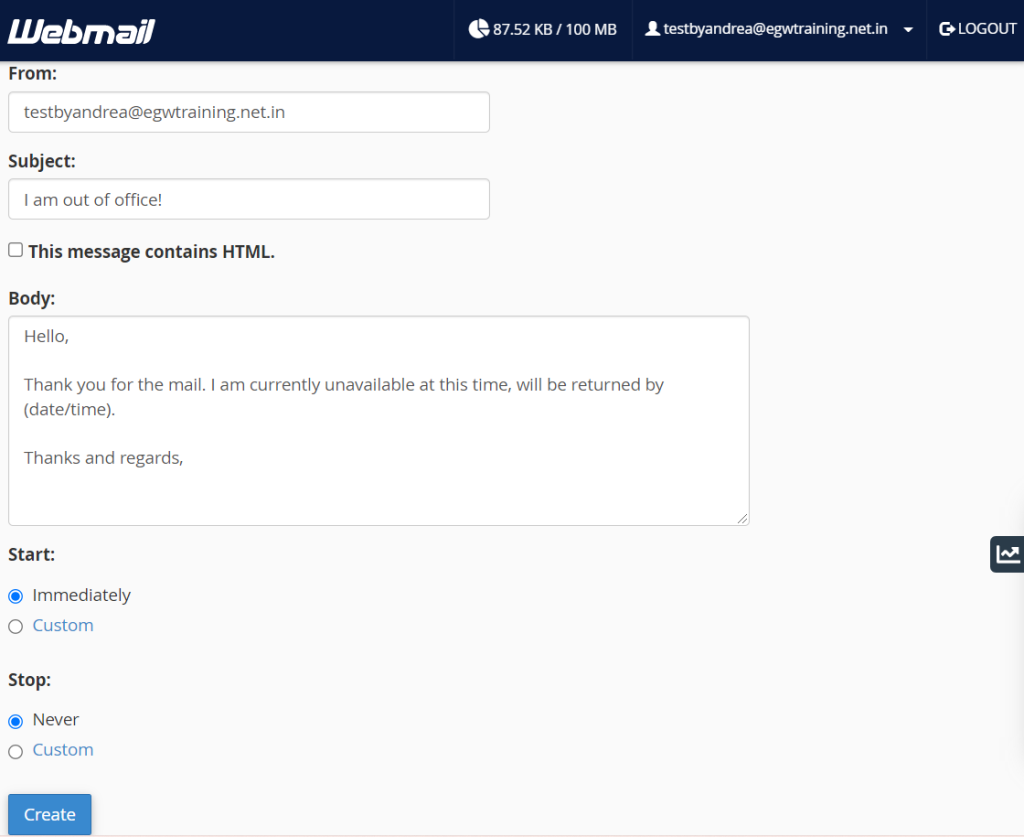
From: Enter the name/email from which the auto response will appear.
Subject: Mention a custom subject line that you’d like to send and if needed, can select the checkbox if your message consist of HTML.
Body: Enter the message that you wish to sent to the recipient.
Select the start and stop period that you’d like to set your autoresponder active as immediately or else can custom by setting a date. You can also set stop as never to function continuously.
Step 7: Click on Create button
Step 8: After being created, you will receive a message that you have successfully created autoresponder.

How to remove Autoresponder?
From the email section click on the autoresponder icon which will be directed to the list of current autoresponder emails, select Delete icon below actions.


 Anagha Pilakandi
  January 9, 2022