How To Configure Email Accounts For Mozilla Thunderbird?
 Midhun G
 April 14, 2022


 Midhun G
April 14, 2022
Midhun G
April 14, 2022
Note that in order to configure your email account in thunderbird you must have a valid domain name and also it must be correctly pointed to your hosting server.
Open the Thunderbird application on your device note that the version of thunderbird may be different from one system to another.
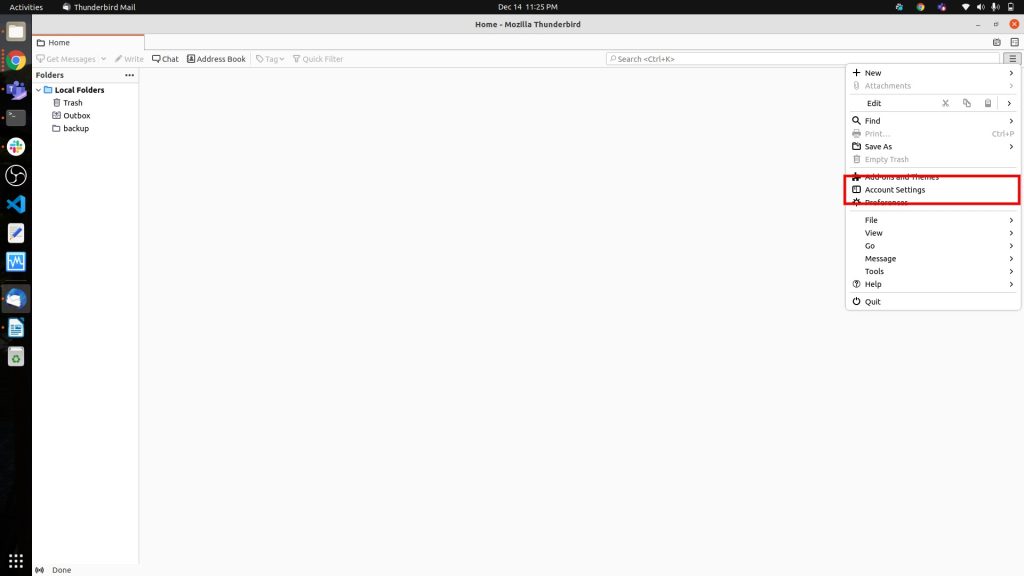
1 Click the 3 dots on the right side of your home screen and click the Account settings option.
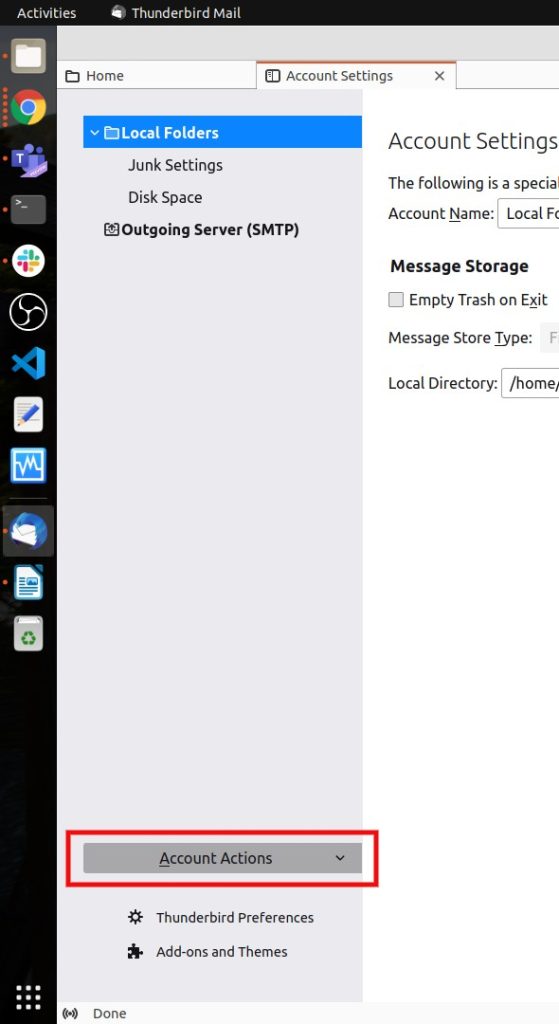
Then you will be able to see a window as shown below from here click on the Account Actions drop-down and select the option Add Mail Account.
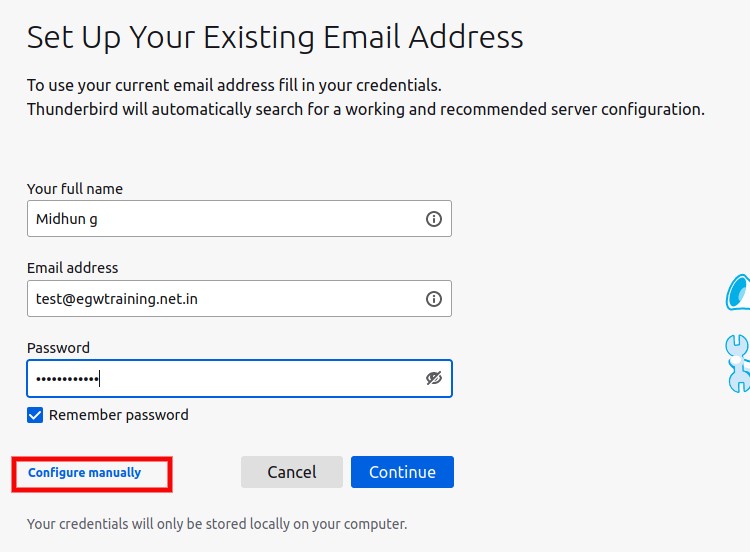
3:Enter the email address and password of your mail account and click on continue.

4 After clicking Continue Thunderbird will automatically detect your mail settings and You will be able to see a window as shown below which indicates that
your mail account configuration has been done successfully.

But there are some cases when thunderbird will fail to automatically detect your mail account settings in that case you can manually configure your email account settings.
1: Log in to cPanel.
2: Click on Email Accounts under the Email section.
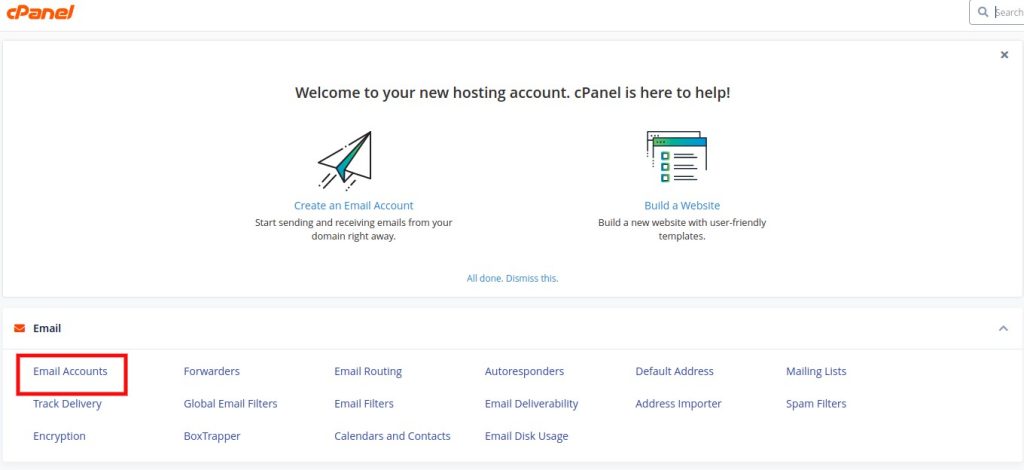
3: Locate the email account you wish to configure and click the Connect Devices button located to the right of the account listing.

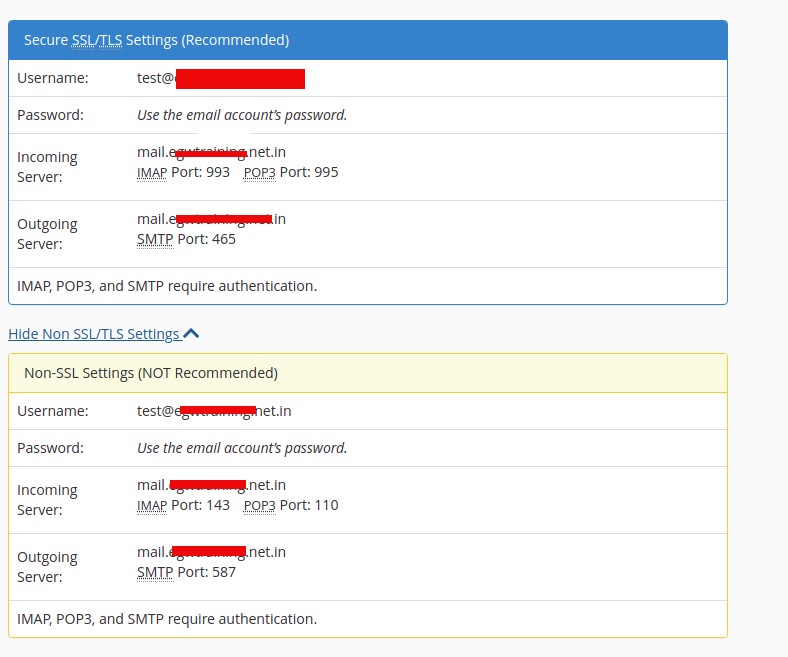
4: After clicking the Connect Devices you will be able to see a window as shown below which shows the Mail Client Manual Settings.
5: Then open your thunderbird and click on configure manually option After entering the username and password.
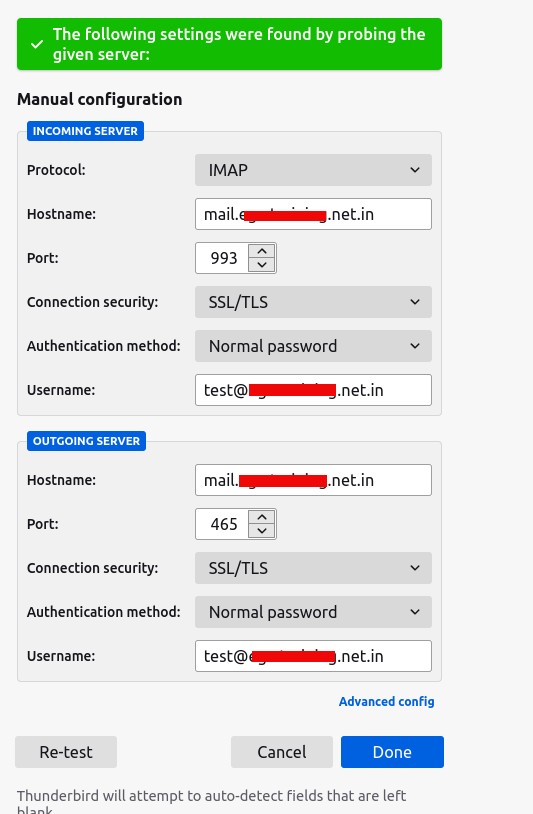
6: Then you will be able to see a window as shown below enter your mail account setting which you have received in cPanel mail client settings
You can choose either IMAP or POP3 protocol as your wish and also make sure that you are using SSL/TLS secure setting because it Is the recommended one.
After entering the required fields click on Done which will show a successful message Account created successfully.