Provisioning PHP Version in EasyApache 4 in WHM
 eglueadmin
 March 13, 2024


 eglueadmin
March 13, 2024
eglueadmin
March 13, 2024
Introduction:
EasyApache 4 is a powerful tool available in WHM (Web Host Manager) that allows system administrators to manage and provision different PHP versions on their servers. This knowledge base article will guide you through the process of provisioning PHP versions using EasyApache 4 in WHM.
Few common cases of giving Provision through EasyApache 4:
Application Compatibility: You have multiple websites or web applications hosted on your server, and each one requires a specific PHP version to function properly. By provisioning different PHP versions, you can ensure that each application runs on the PHP version it requires for compatibility.
Legacy Application Support: You have legacy applications or websites that rely on older PHP versions. Provisioning the required PHP version ensures that these legacy applications.
Custom Configuration: You have specific requirements for PHP configurations, such as enabling or disabling certain PHP extensions, adjusting memory limits, or changing PHP settings. Provisioning PHP versions allows you to create custom profiles with the desired configurations to meet your specific needs.
Steps:
Here is the Step-by-step Guide:
1. Log in into WHM
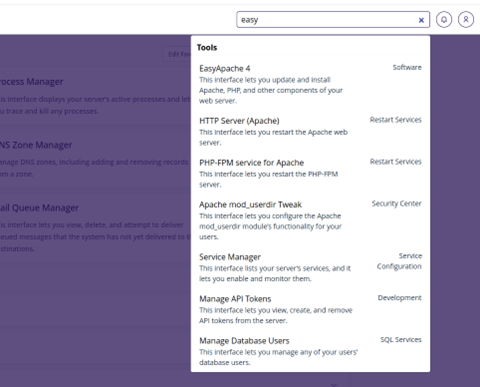
2. Access EasyApache 4:
Navigate to the “Software” section in the WHM sidebar or search for “EasyApache 4”.
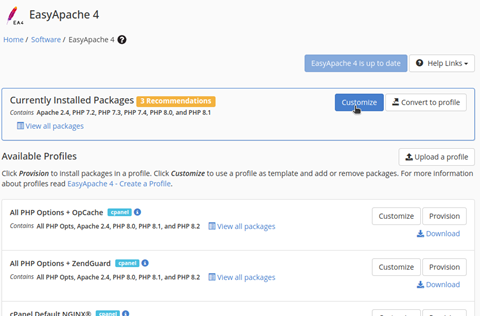
3. Select a Profile:
In the EasyApache 4 interface, you’ll find the currently active profile displayed at the top. If you wish to modify the active profile, click on the “Customize” button next to it.
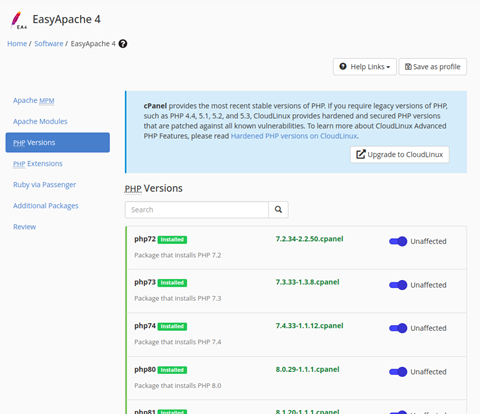
4. Choose PHP Version:
In the “Apache” tab, scroll down to the “PHP Versions” section. You will see a list of available PHP versions with checkboxes next to each.
Select the desired PHP versions you want to provision by ticking their respective checkboxes. Optionally, you can also choose additional PHP extensions and options if
5. Review and Save Changes:
After selecting the desired PHP versions and any additional extensions or options, scroll down to the bottom of the page. Review your selections to ensure they match your requirements.
Click on the “Review” button to proceed
6. Build and Provision:
In the review page, you’ll find a summary of the changes you made. Double-check the configuration details and click on the “Provision” button to initiate the provisioning process.
NB:- The provisioning process might take some time to complete.

7. Verify PHP Versions:
Once the provisioning process is finished, go to your server’s command line or terminal. Use the following command to check the installed PHP versions:
ea-php –v
Conclusion:
You have now successfully provisioned PHP versions in EasyApache 4 using WHM. This allows you to manage and use multiple PHP versions on your server, providing flexibility and compatibility for different applications and websites.
Note: It’s recommended to thoroughly test any changes before implementing them in a production environment.