A digital signature is a method by which one can authenticate a message author. It is a scheme to prove the non-reputation and integrity of the message. We can implement this technique to send emails through a mail client or browser. Below we describe the steps to set up the digital signature scheme for the mail client Thunderbird and send securely signed emails.
Step 1: Installing Enigmail
Both the sender and receiver need to install the Thunderbird addon Enigmail to handle encryption and authentication using GnuPG (GNU Privacy Guard).
Go to Tools > Add-ons.
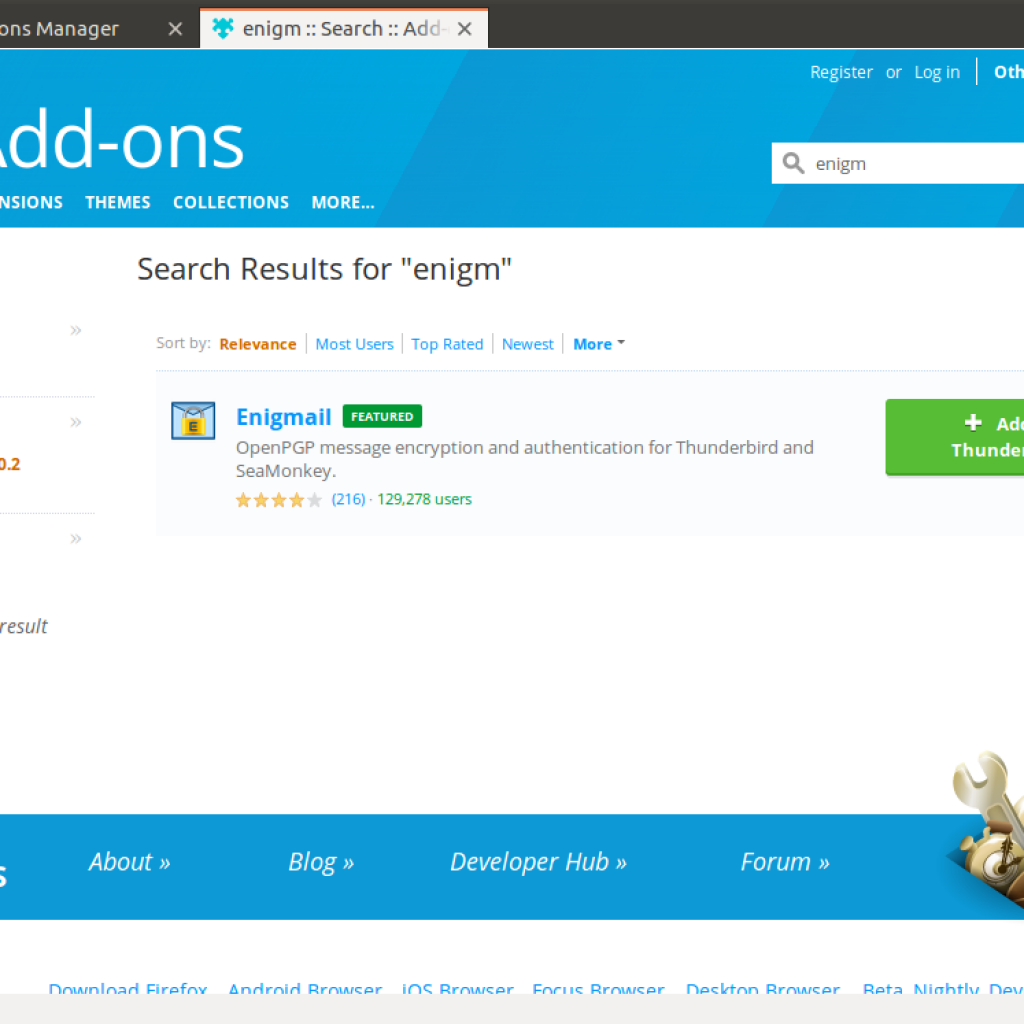
In the Get Add-ons, look for Browse for more Add-ons and click that.
You will be redirected to the extension page. Search for Enigmail and click Add to Thunderbird to install it.
If any software installation is prompted, click on Install Now and the Add-on will be installed.
Step 2: Generating Key
After installing Enigmail, we need to generate the signature or key.
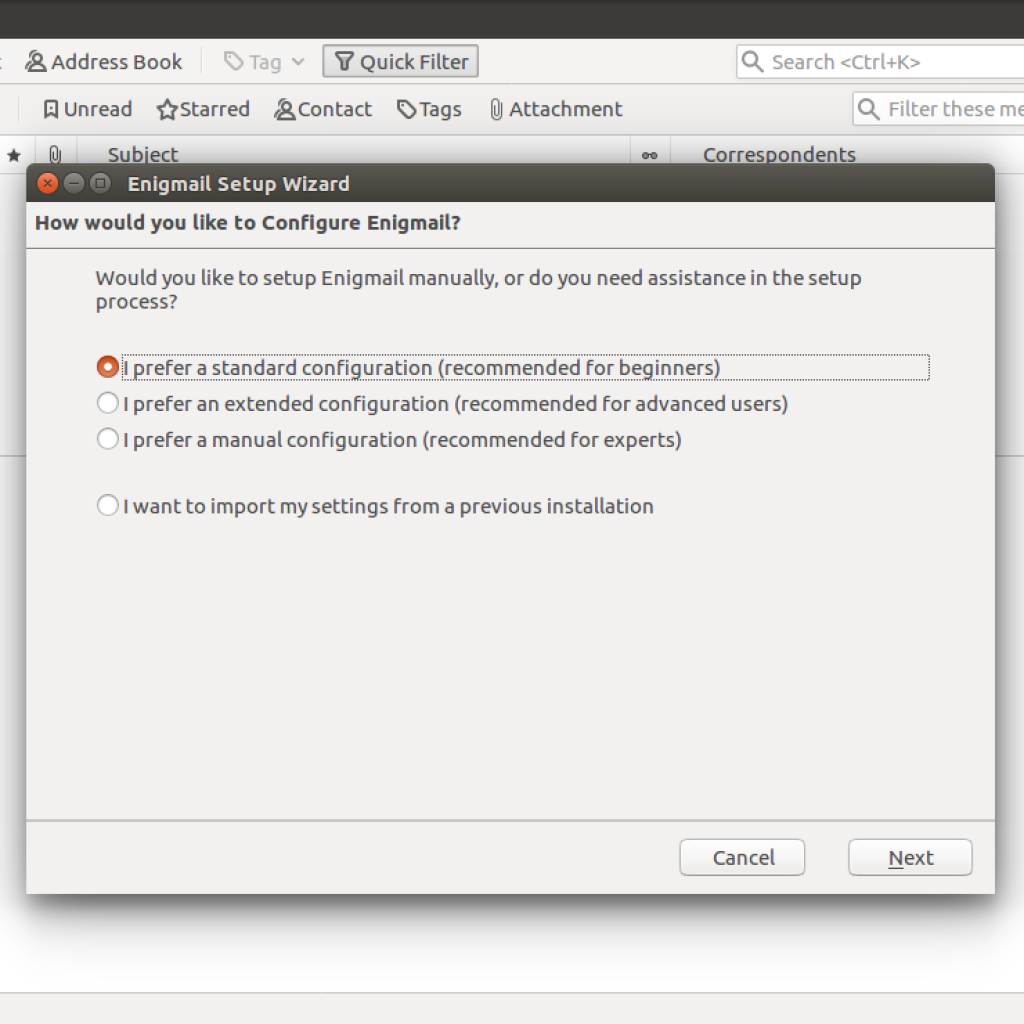
Go to Enigmail > Setup wizard and choose the option “I prefer a standard configuration” option recommended for beginners.
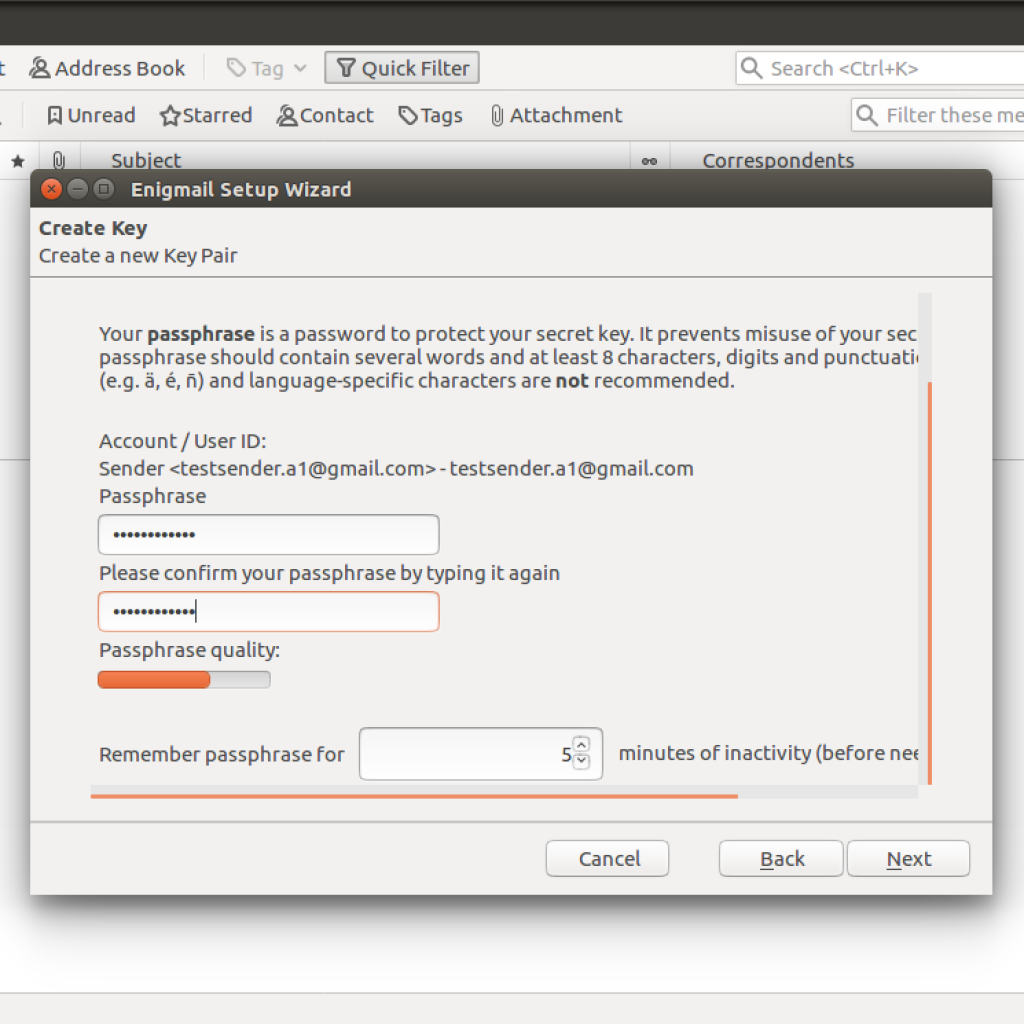
You will see an option to create a Passphrase, which protects the key after clicking the next button. If you have multiple accounts configured, you will have to select the account first.
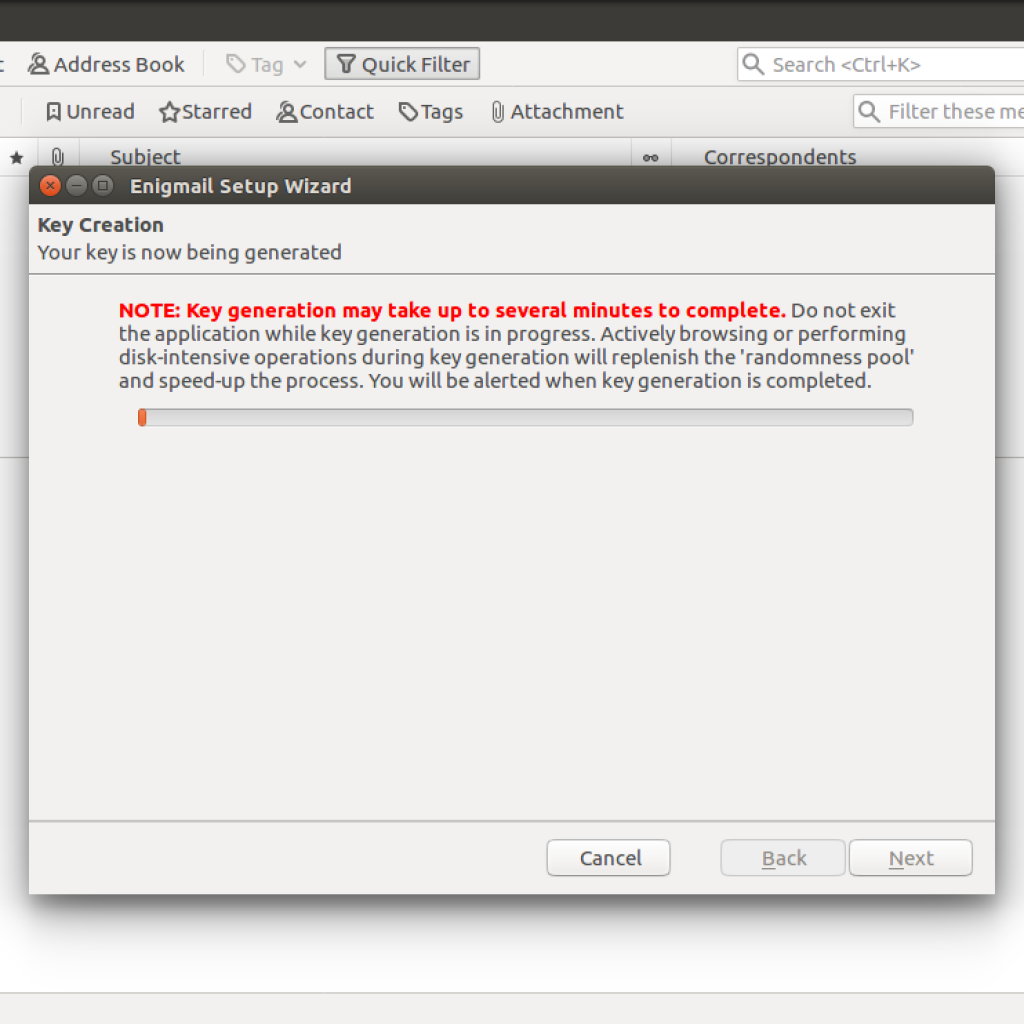
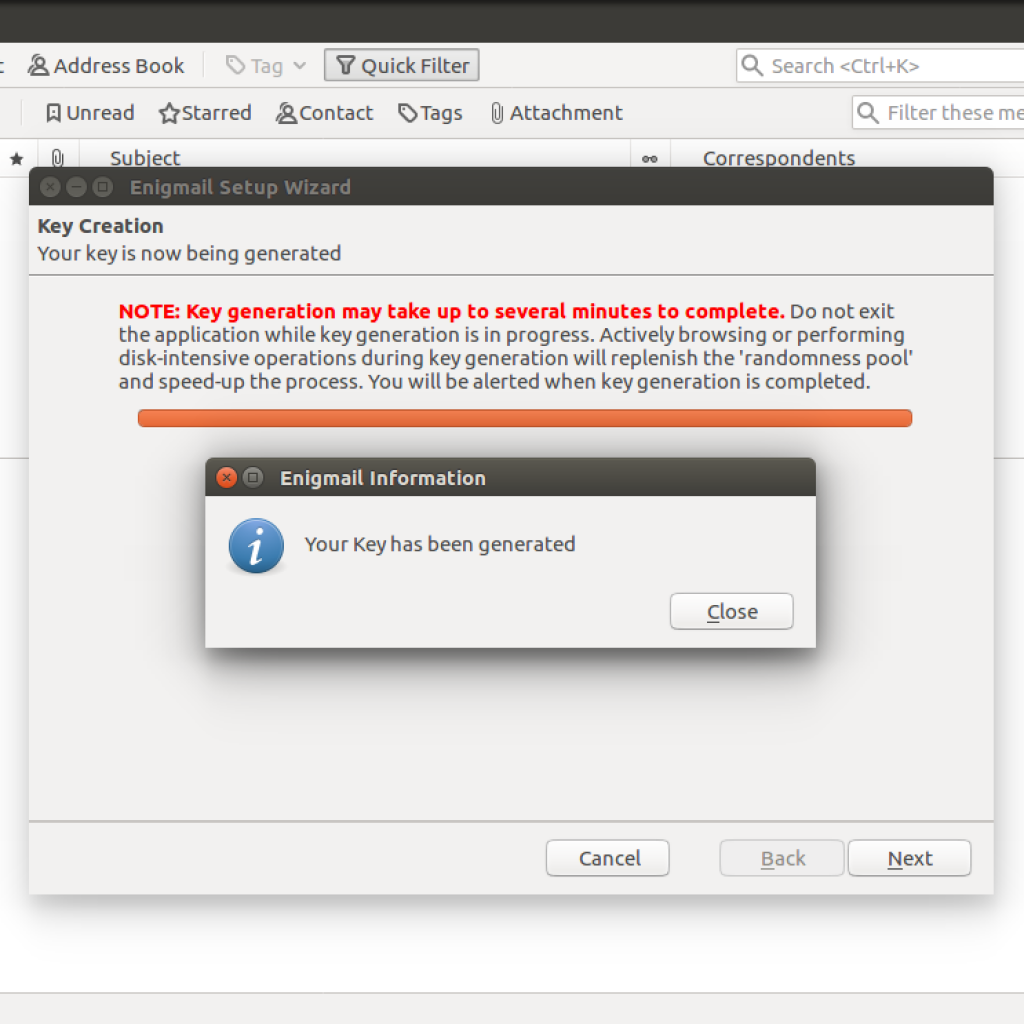
Click on the Next button and wait till the key is generated. You will get a message box after completion.
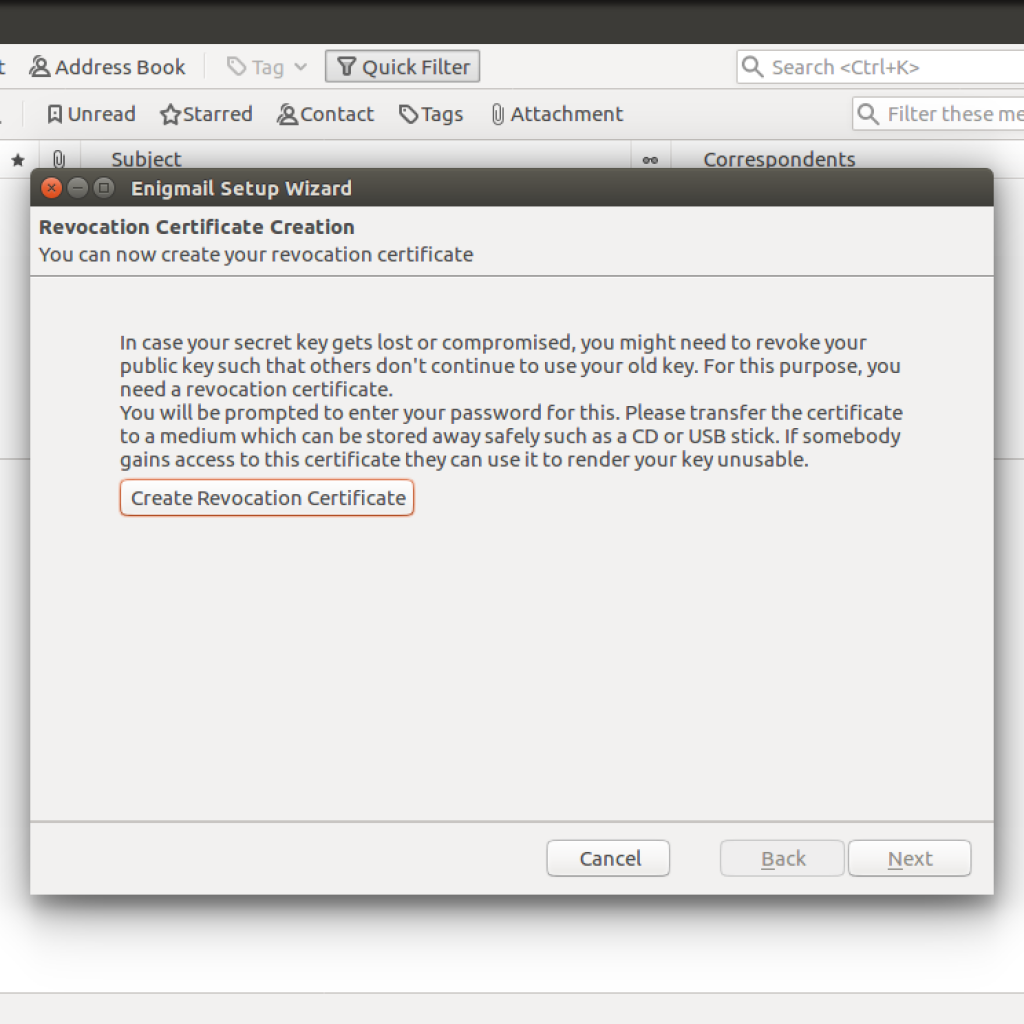
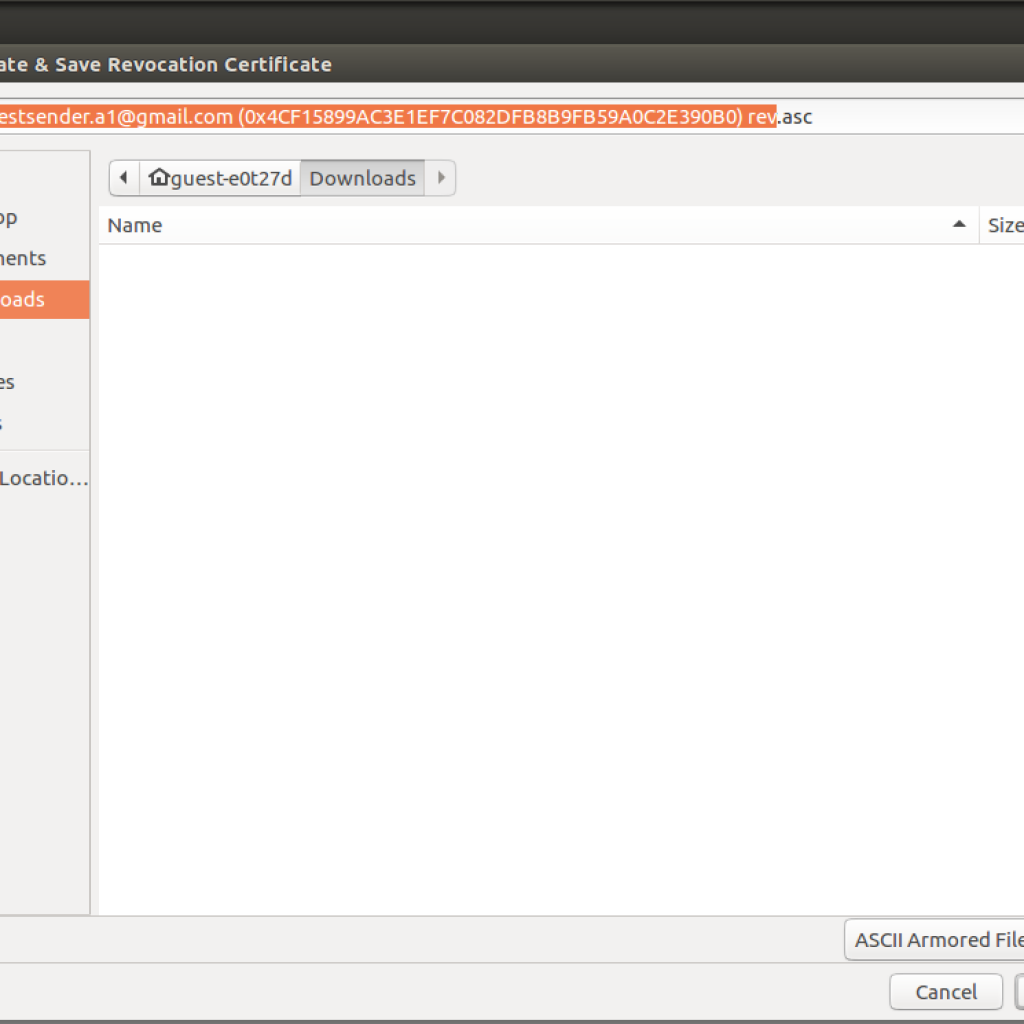
In the next step, you will be given the option to create a revocation certificate. Save the revocation certificate in any safe location.
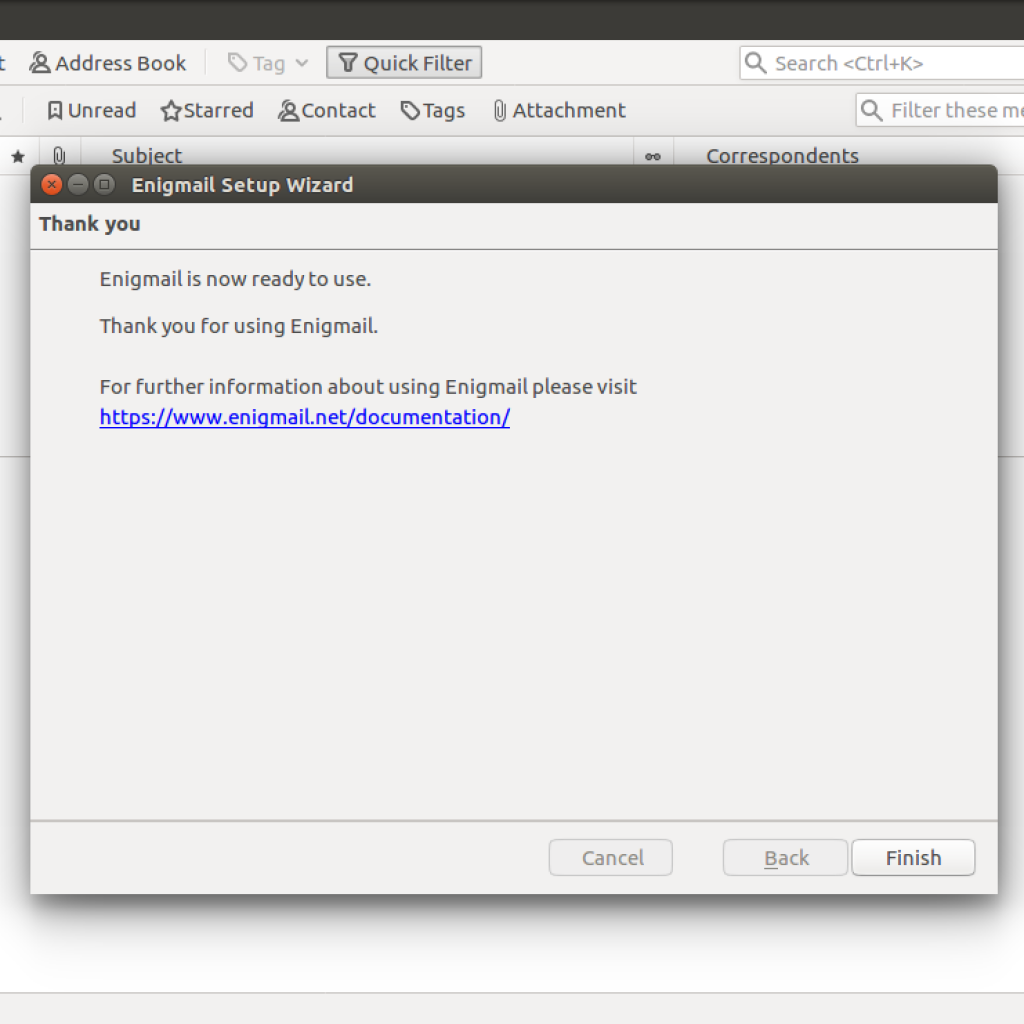
The setup will display a ready to use dialog box after successful completion. Click on finish and everything is set.
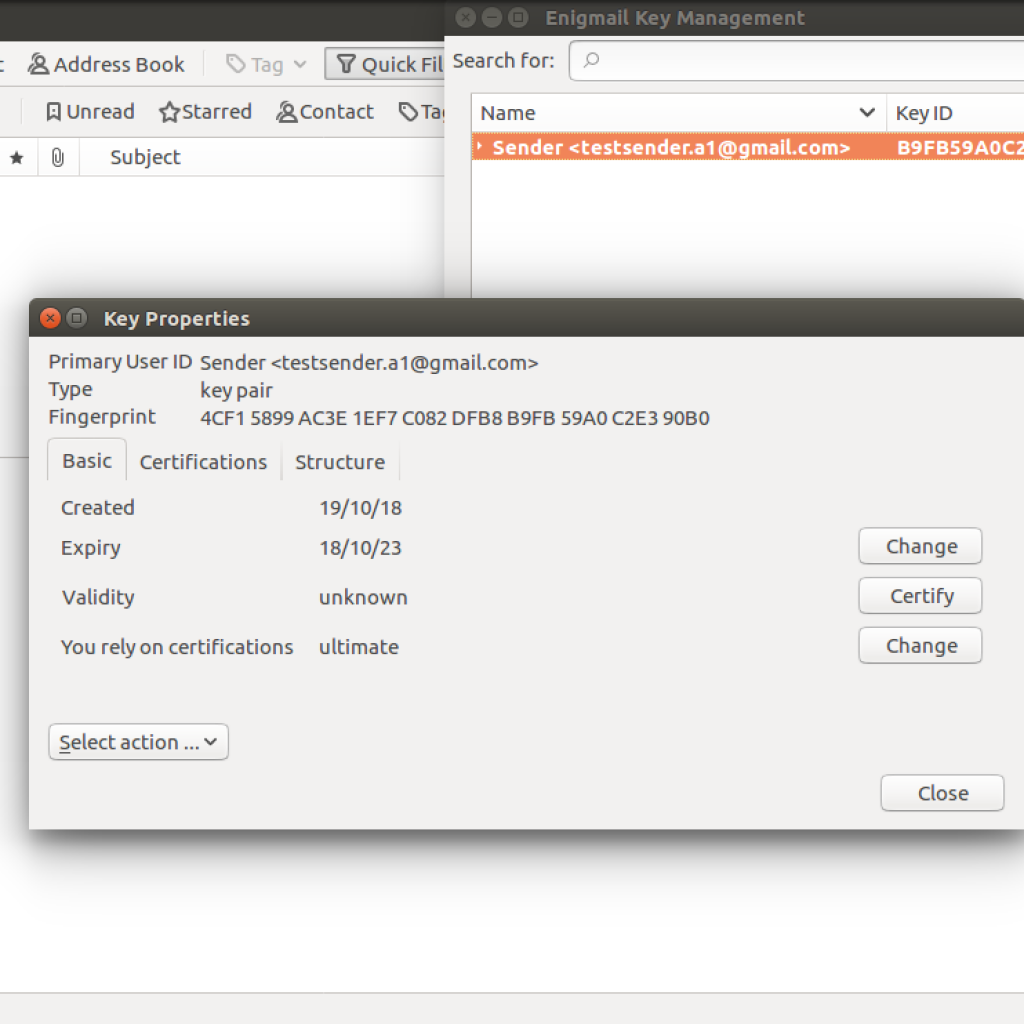
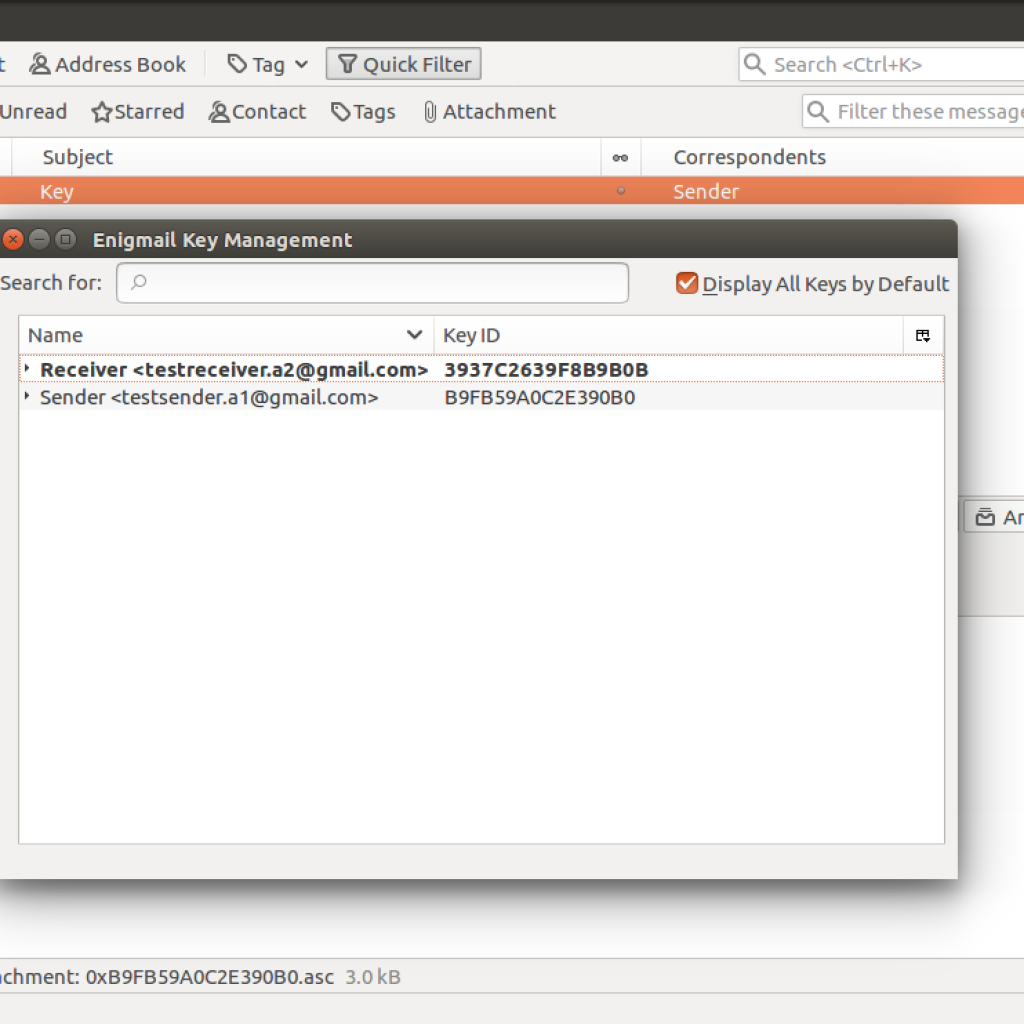
You can view and manage the key from Enigmail > Key management. You can view your public key ID (0xlast_two_parts_of_fingerprint), it’s fingerprint and other details.
Step 3: Start Sending E-mails
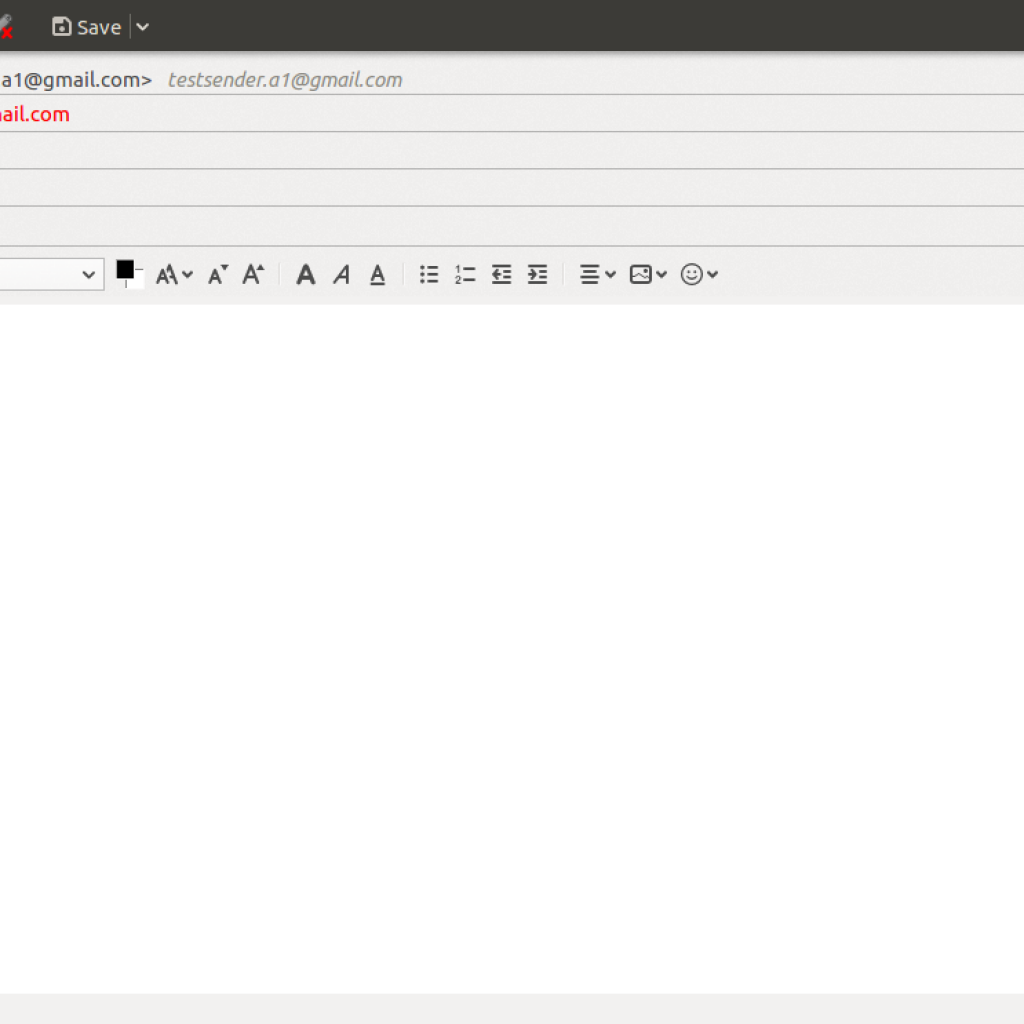
Now, the key setup is complete and you will be able to send signed emails. Before start sending messages, you need to share the public key to the receiver. For that, create a new email and click on “Attach my public key” and sent the mail.
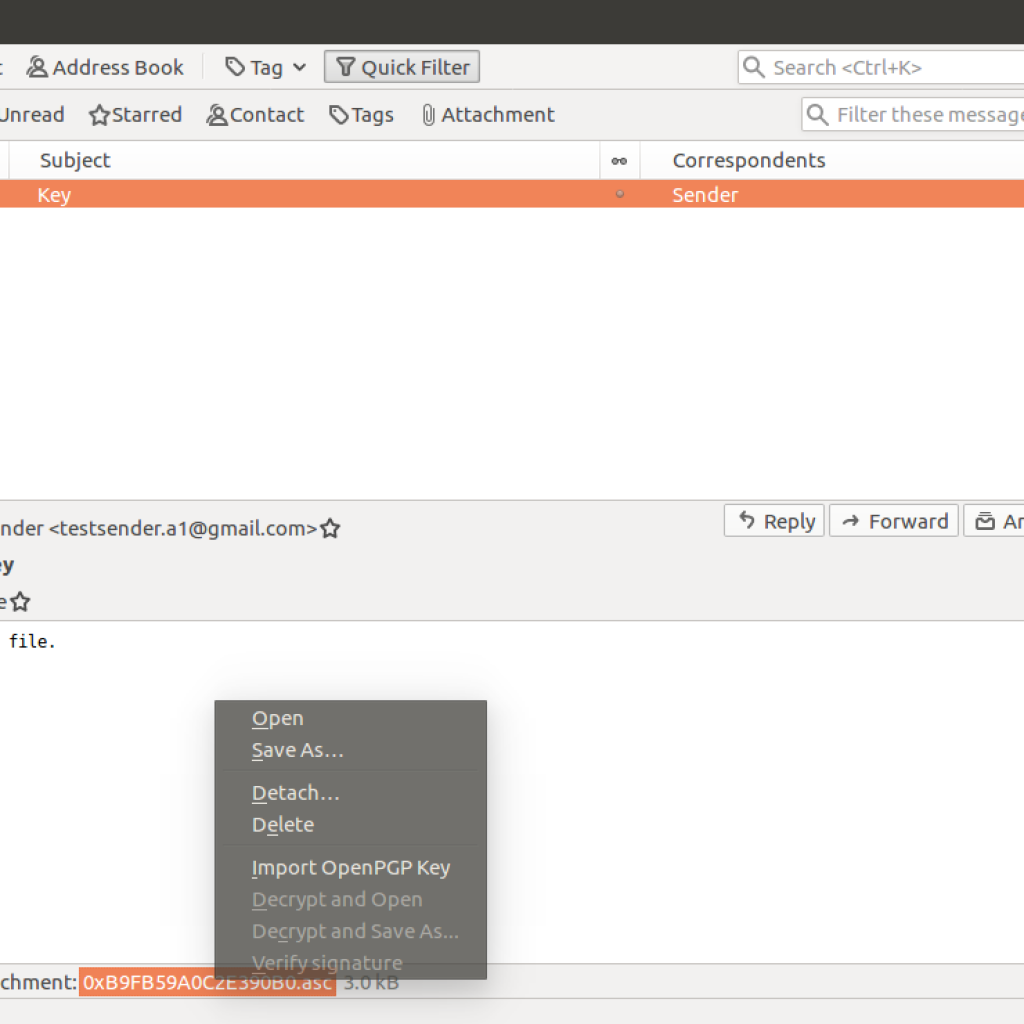
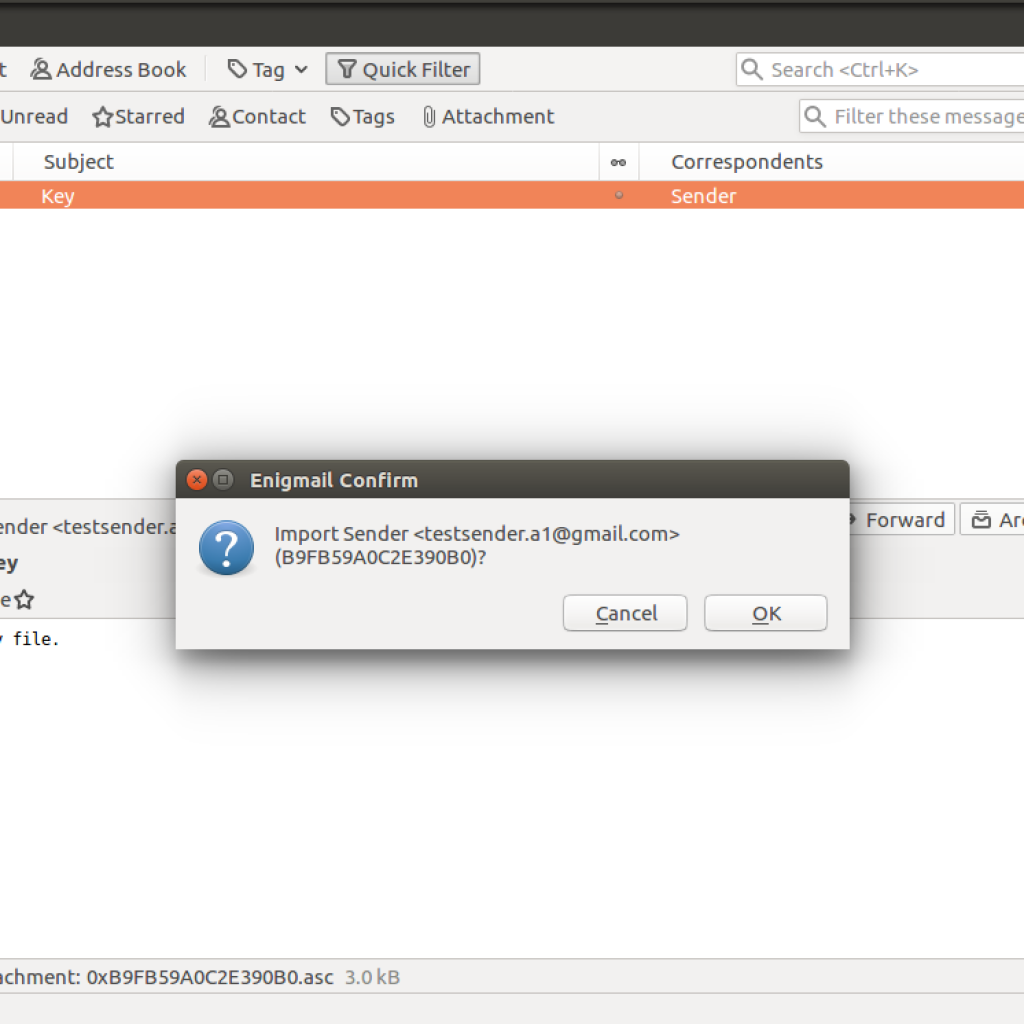
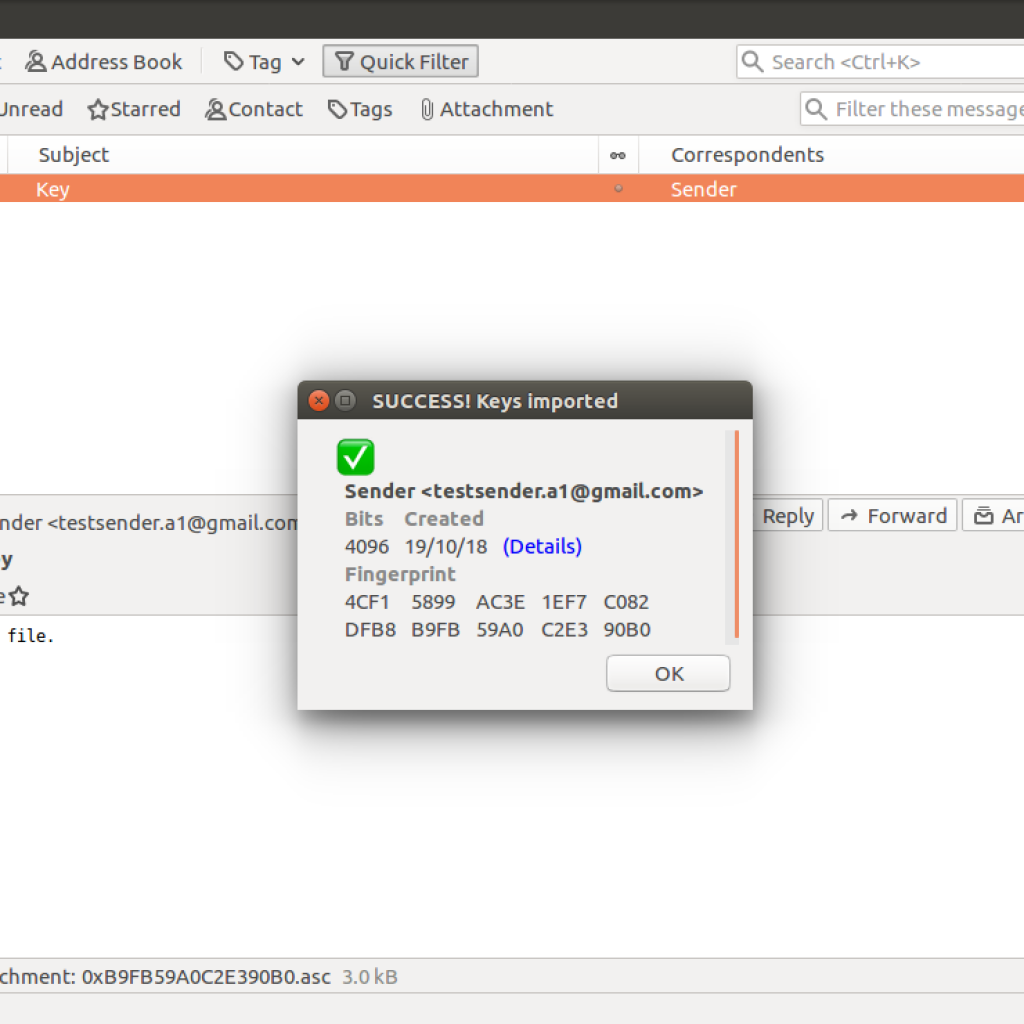
At the receiver, open the mail and right-click the attached key. Click on “Import OpenPGP key” and you will see a confirmation to import the key, followed by a success message.
You can verify this from the key management.
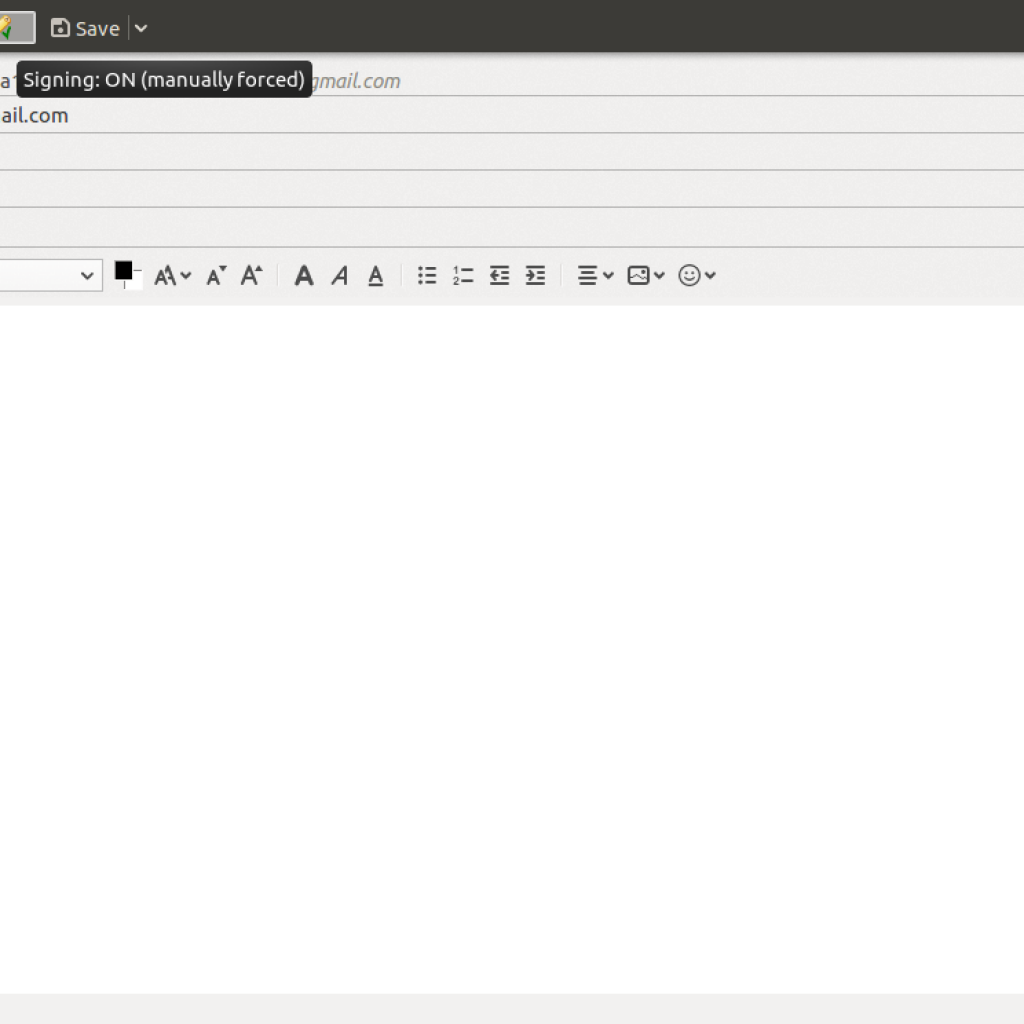
Now you can send signed emails to the receiver. Just enable the signing from the top (pencil icon) while writing a new mail. You can enable this option by default from the Account settings > OpenPGP settings.
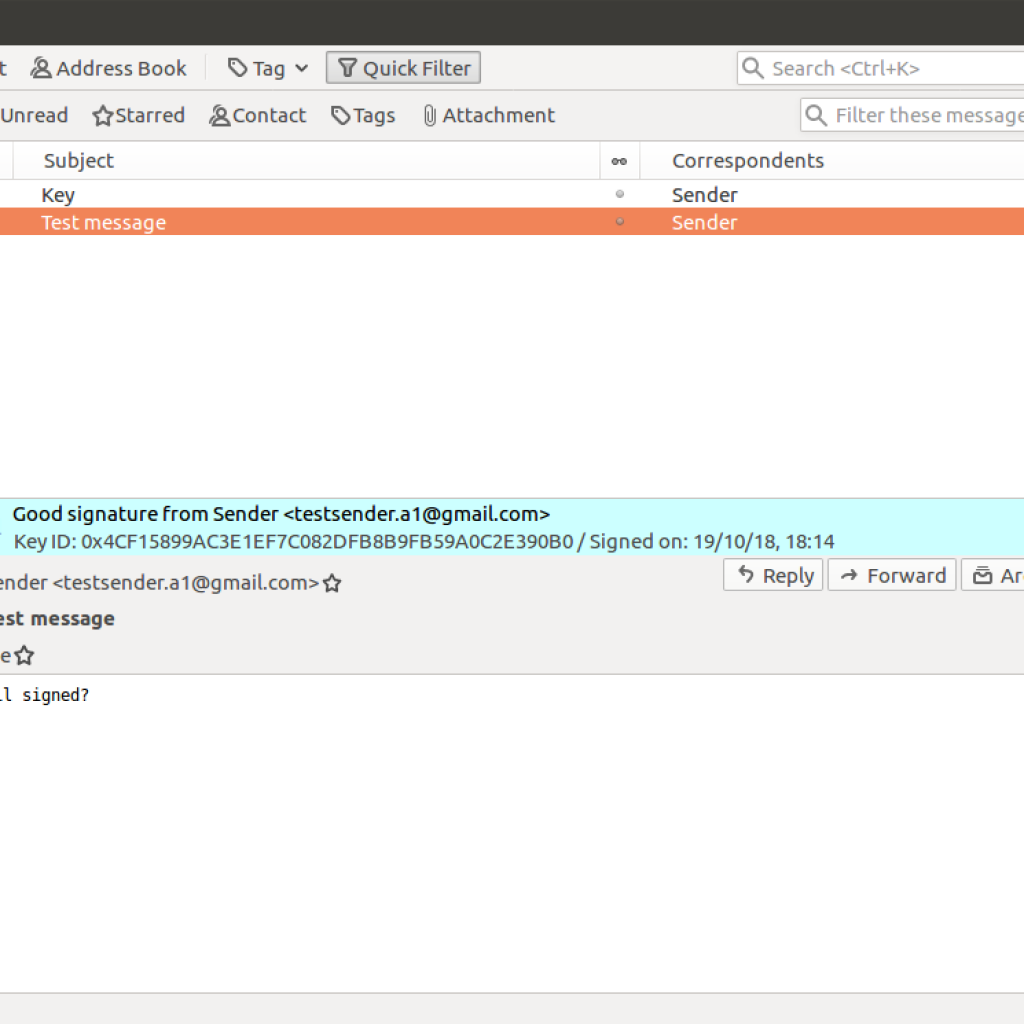
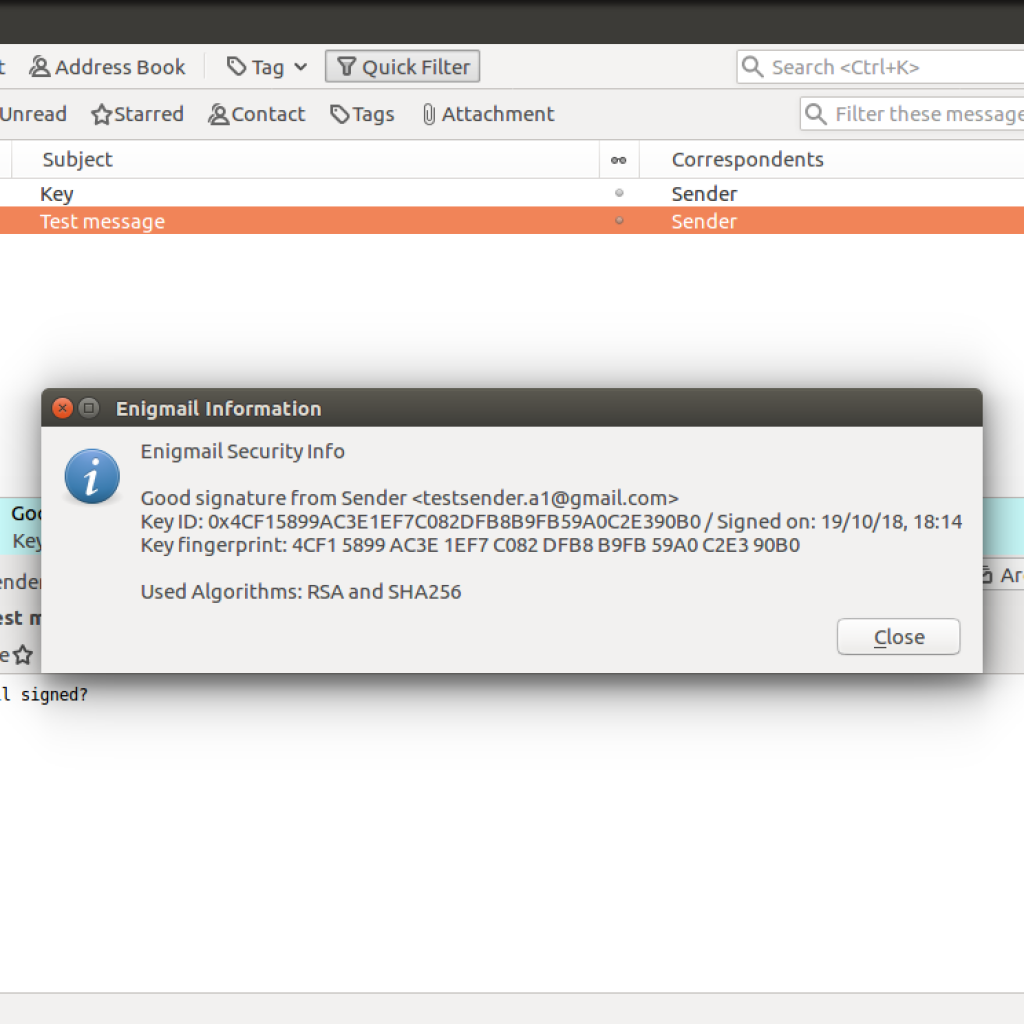
You will see a “Good signature from sender” message and after clicking details will be able to see the security info.
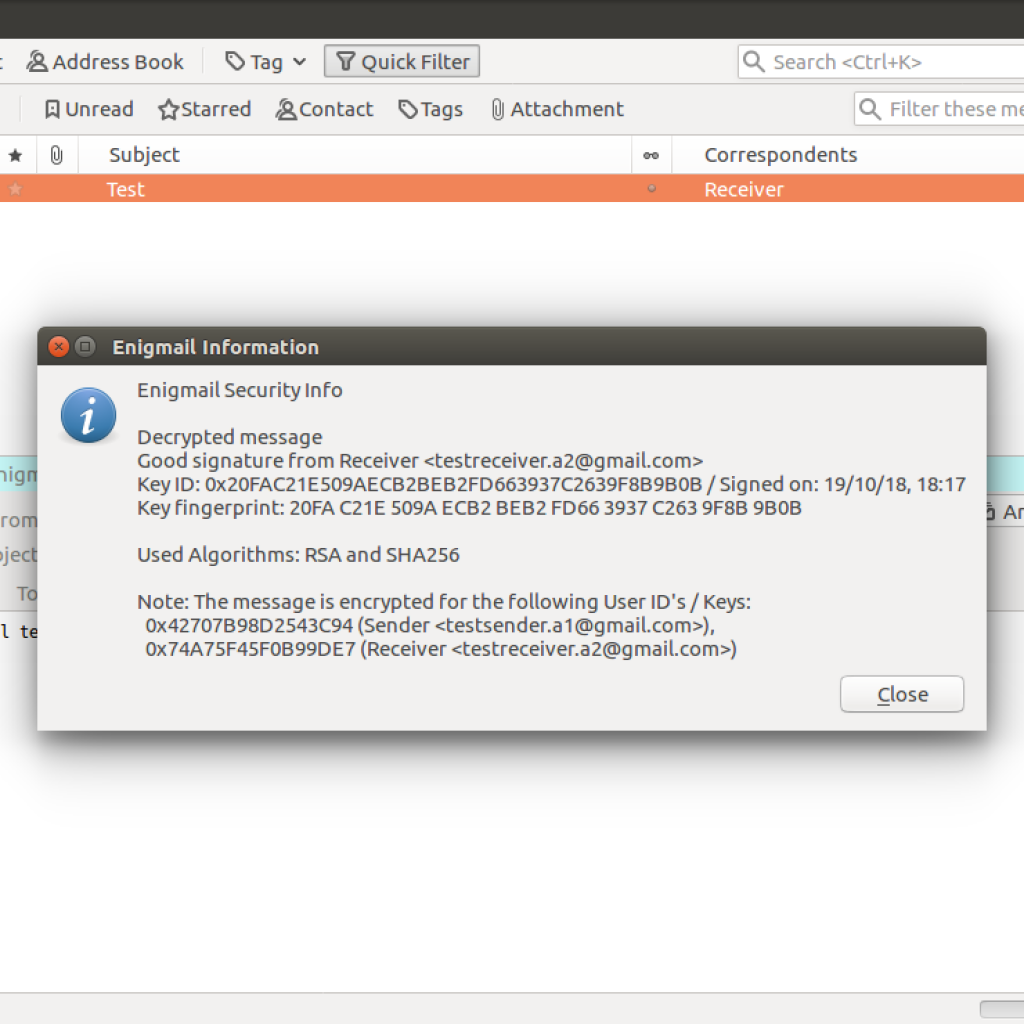
Similarly, you can enable encryption on emails to and from if both the sender and receiver have public keys shared.
 eglueadmin
 November 26, 2021